I think it’s fair to say that when I began my latest round of camera gear acquisition around two years ago a micro 4/3s camera was not on my radar. In fact if I was totally honest I think I would have had little or no idea what a micro 4/3s camera was. Since I owned my first DSLR camera I had shot with either APS-C, full frame, or the lesser known APS-H (1D Canon cameras I used professionally in the 2000s). When I got hold of my Sony RX-100 cameras (A VII and the original mark I) back at the end of 2023, I was introduced to the one inch sensor and it was around then, thanks largely to the YouTube algorithm, that the lesser known world of smaller sensor micro 4/3s cameras slowly dripped into my consciousness.
As the name suggests a micro 4/3s sensor is smaller than its full frame counterpart and APS-C. It is though slightly bigger than a one inch sensor. What this means in practical terms is that the crop factor is double that of a 35mm full frame sensor so, for instance, a 50mm lens on a micro 4/3s lens has an equivalent full frame focal range of 100mm. Feeding a smaller sensor means that typically lenses are much smaller and lighter than ones built for full frame and in turn camera bodies can be smaller too. Those are the main benefits.
The biggest drawbacks, as they are often perceived, of a micro 4/3s camera are that the smaller sensors can’t perform as well as large full frame sensors in low light so images taken at higher ISO values will tend to be noisier. Moreover the depth of field at all aperture values is greater than a full frame sensor so a shot taken at f/5.6 will likely have a similar depth of field to a full frame image taken at f/11 – which in many instances can be the entirety of the image that is in focus.
After many months of debating whether to get a 4/3s camera the pros finally outweighed the cons, partly because one of the cons is becoming less of an issue and the other can be flipped to become an advantage of the format. AI noise reduction has improved dramatically in recent years so that with careful use images once considered all but unusable can maintain good detail and look clean. It should be said that in recent weeks I can get very similar results in Camera Raw using the manual noise reduction tool, so perhaps the role of AI is being overblown by the hype train, but it is undoubtedly a convenient 1-click solution (albeit a time and disc consuming one if you are applying reduction to 61mp images!)
The depth of field drawback is also less of one when I consider that my I often enjoy photos I take and look at when everything is in focus – oftentimes the background is just as interesting as the subject and deserves to be shown in full clarity. I noticed this in particular over the past eighteen months when my OM System TG-7 all but replaced my phone when I took photos when out running and cycling. It has a tiny 1 2/3s” sensor which is almost 2/3s smaller than a micro 4/3s sensor. This means that everything you shoot, even wide open at f/2.8 is in focus. Although the sensor is old, small and outdated, it can still produce what I consider some of my favourite pictures I’ve taken this year, especially when I’ve processed the raw files. Part of the reason is the old school film like colours I can render, the other is the equally old school everything being in focus aesthetic that I do like in many instances.
The other reason why I was looking at a micro 4/3s camera is although I have the TG-7 as a carry around for when I am exercising or the weather is bad (fully waterproof and shockproof is our Tough Guy) I was hankering for a camera that I could be comfortable taking outside when it is raining and snowing and not be fearful that I am potentially destroying very expensive equipment. I am aware that my two big Sony cameras are weatherproofed, but I only possess a small handful (three, I think) lenses that feature weatherproofing gaskets and the like. There is a range of micro 4/3s camera and lenses that are marketed for being able to resist the kinds of weather that I would only normally consider taking my little red OM System camera.
Weight would also be a consideration, not necessarily for the camera body, but the lenses I would want to be small – especially telephoto lenses that are nearly always big, heavy, and bulky on a full frame or even APS-C camera. I also wanted a format that would have a good range of zoom lenses. I currently don’t own any zoom E mount lenses, so if I want to use one I have to rely on my collection of A mount lenses. Luckily the micro 4/3s format has a good range of zoom lenses covering equivalent focal lengths out of the range of most reasonably sized and priced full frame versions.
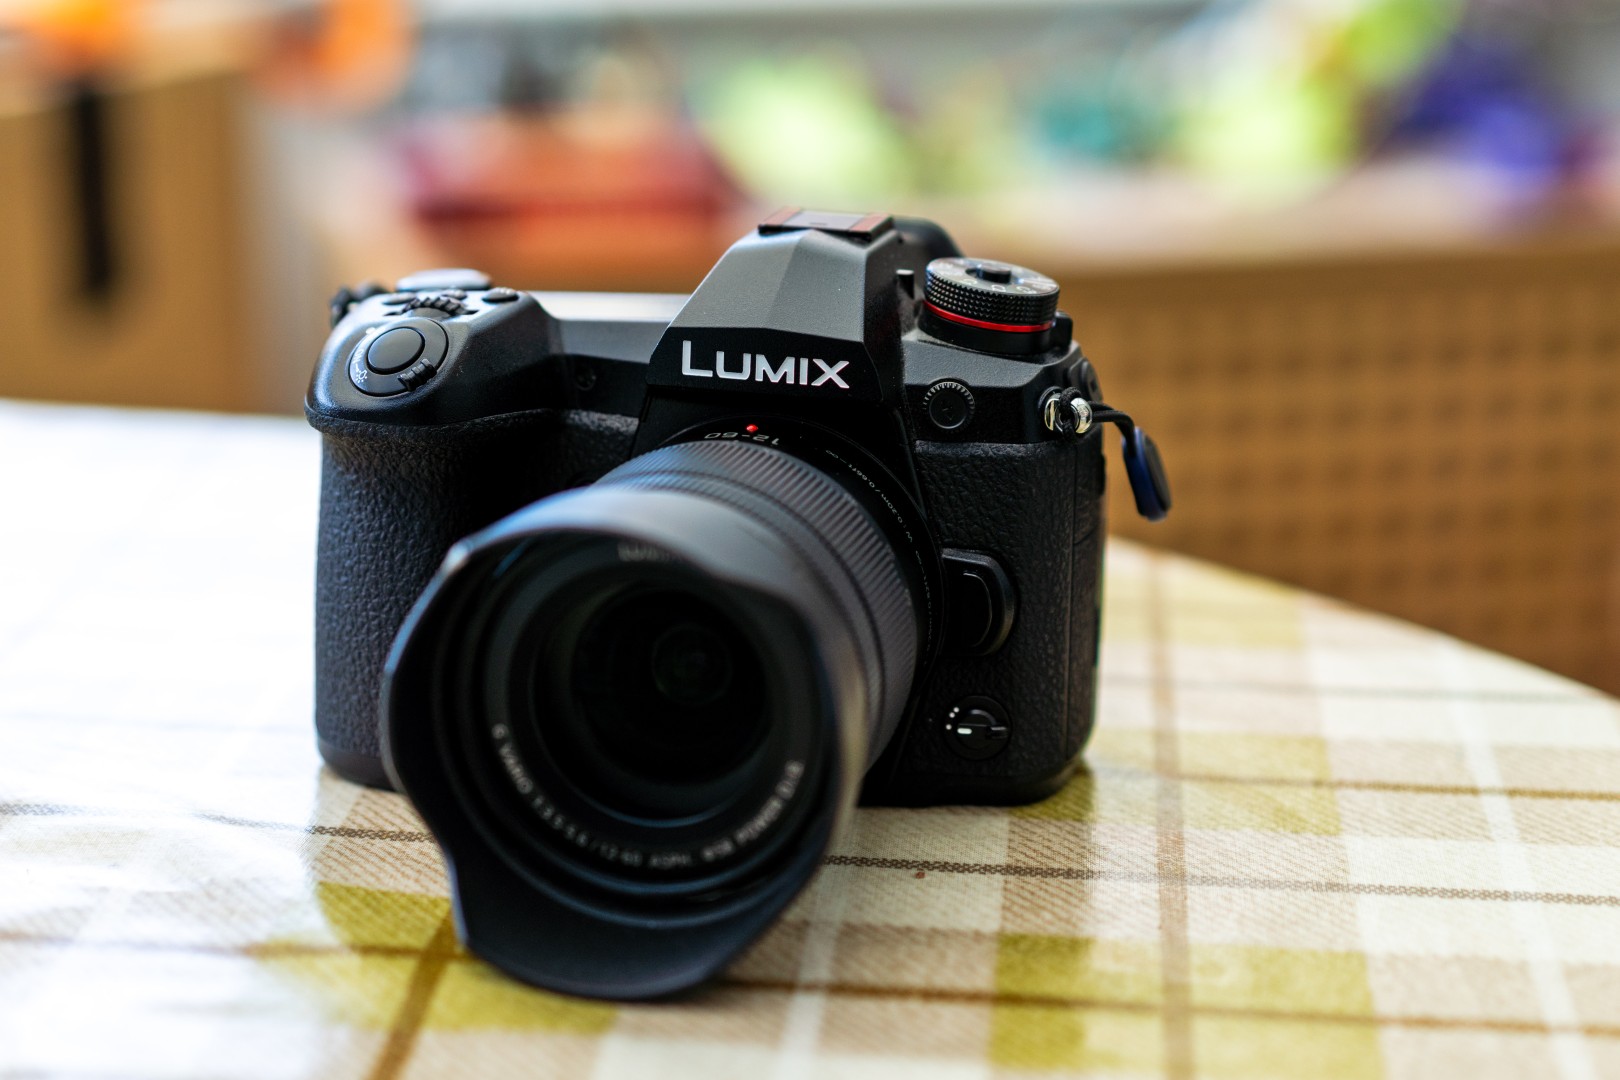
So with all that in mind I did my research and was looking at two cameras – the Olympus OM-D E-M1 Mark III and the Panasonic G9. The two were both once flagship cameras for the brands – packed with features and by all accounts still excellent cameras even though they are products of the late 2010s. In the end I went with the Panasonic G9, the main reason being the price was better – £350 for one in excellent condition compared to around £500 for a well looked after Olympus. The next consideration was that a lot of the online reviews were based on when the camera was first released. Not so commonly known is that the camera continued to receive several firmware updates over the next 3-4 years that fundamentally improved the operation of the camera.
I was planning to make this a purchase at some point next year but on paper £350 for such a fully featured camera seems a very good price. Normally one expects second hand gear to keep depreciating in value, but as I experienced with my RX100 cameras, which I luckily acquired just before they skyrocketed in price, once a camera or a format or a type becomes the fashion of the moment, prices can quickly go vertically upwards.
I needed a lens to go with the camera. I could and may adapt my Sony / Minolta A mount lenses to the Panasonic, but as I want the system to be weatherproofed I wanted a lens that allowed that to be. I went with the Panasonic 12-60mm f3.5-5.6 Lumix G Varo Power O.I.S, which I believe was often bundled as a kit lens and now sold to me separately as new for just under £150. Whilst not a telephoto lens the 24-120 full frame equivalent reach should be good for getting to grips with the camera.
Ordered over the weekend, everything arrived a good couple of days before it was supposed to, which was a pleasant surprise. I spent the evening going through the menus and trying to set the camera up in a way that would be as familiar as possible to me being a Sony user for so many years.
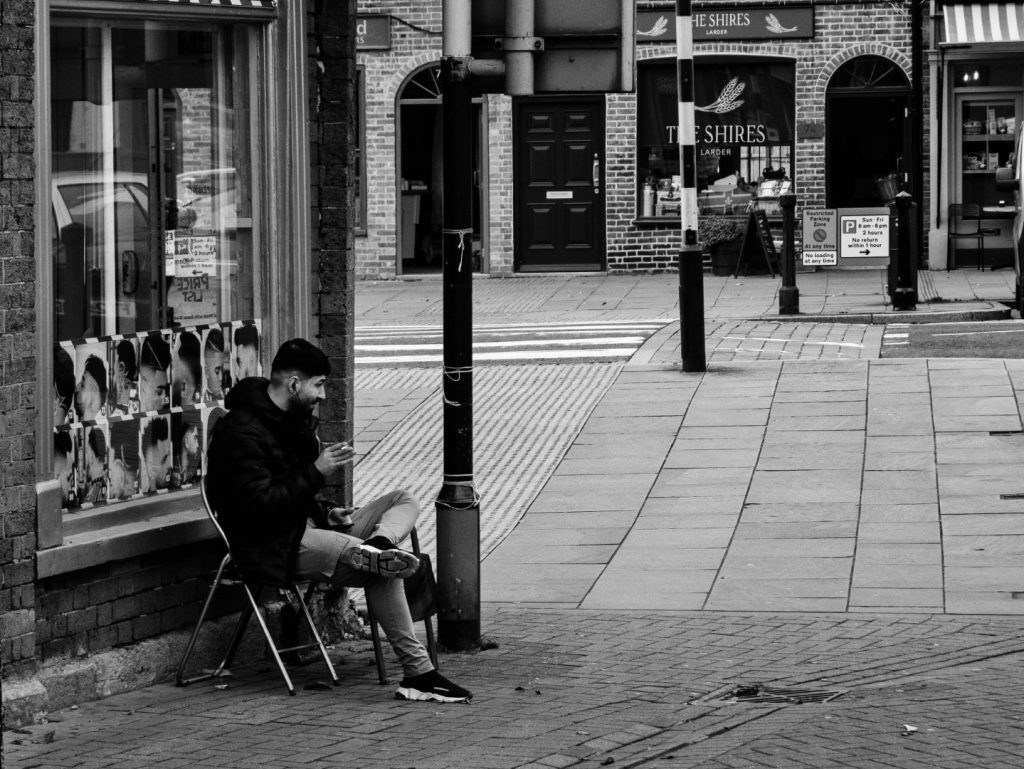
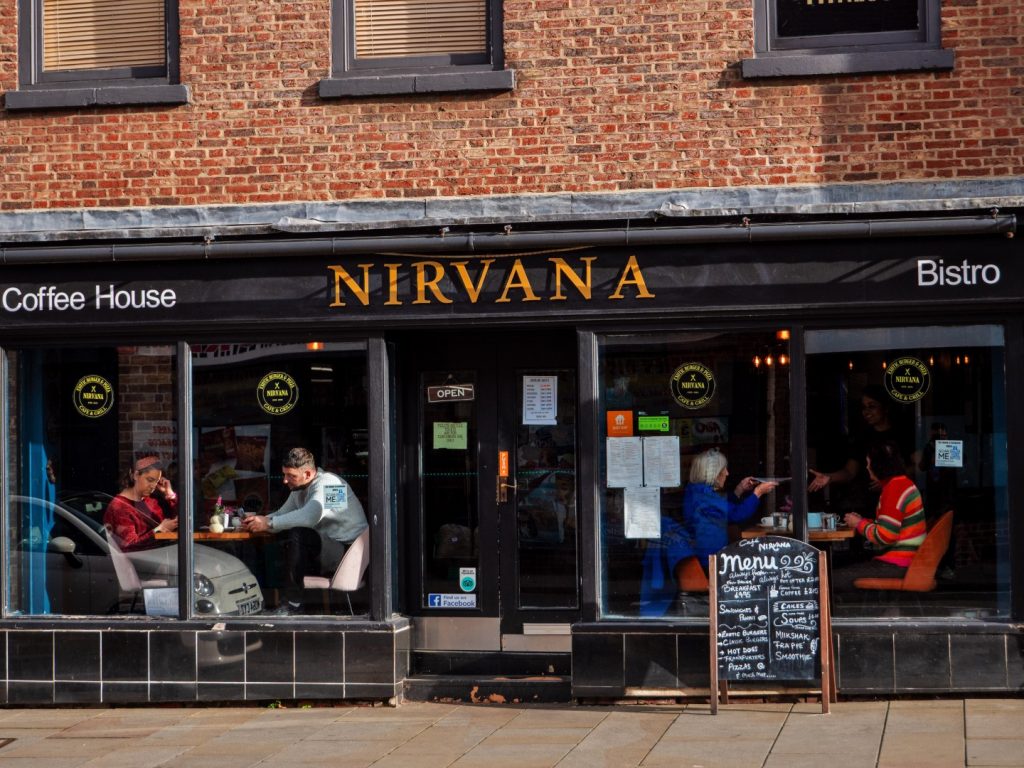
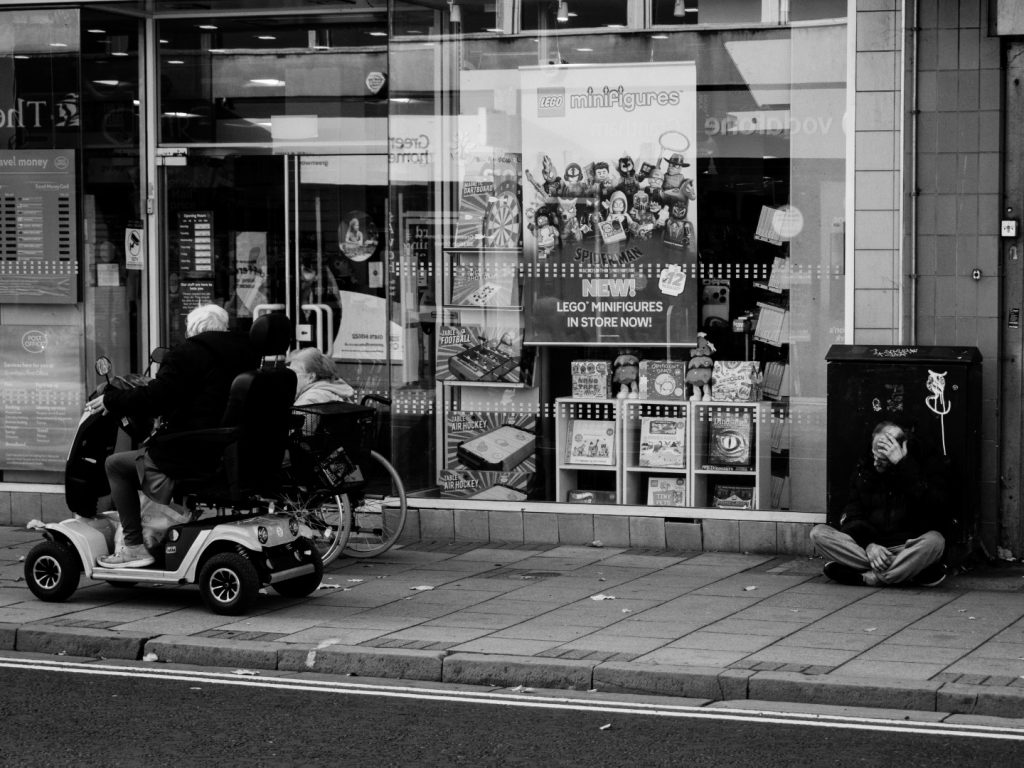
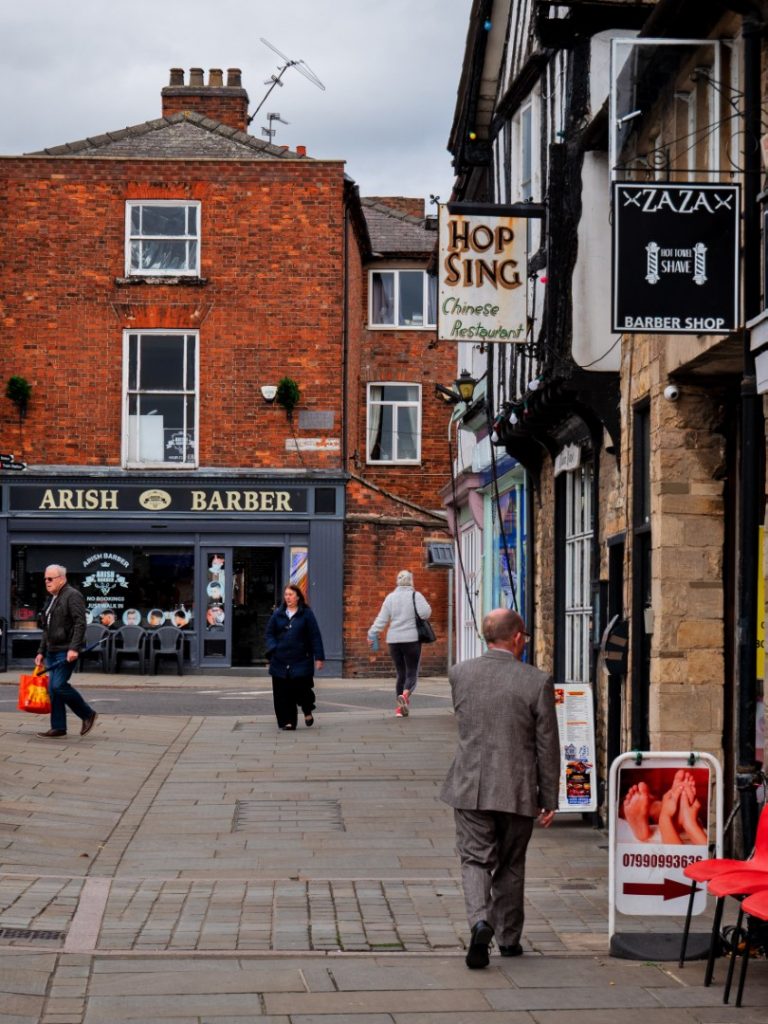
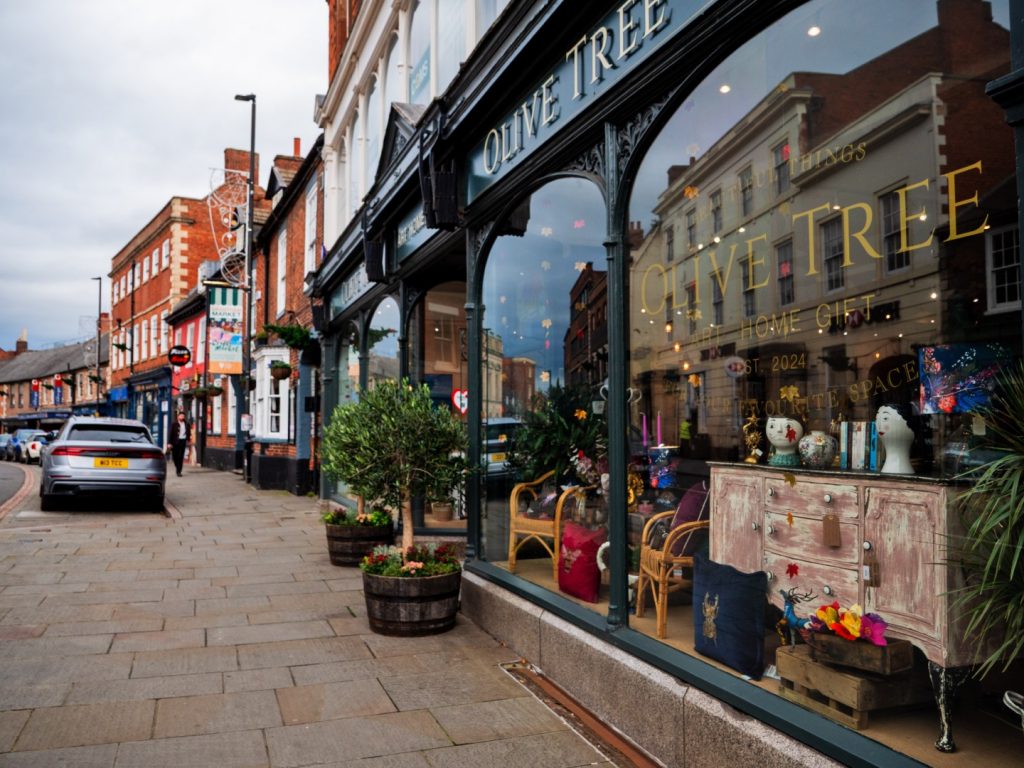
Its first trip would be a visit into town, part of it spent hastily installing and setting up the phone app that allows GPS geo-tagging, which worked, then stopped working (I think phone permissions was to blame for that). I struggled at first with the single shot mode and trying to find the button that would allow continuous shooting, before realising that they had conveniently placed all permutations under the mode dial! With that sorted, electronic shutter engaged and the AF set to human animal detect, I was off and taking photos!
After taking 150 or so images, my biggest issue on the walk was finding that what I was seeing through the EVF regarding exposure wasn’t always reflected in the final image. Some that I though were properly exposed were a little washed out and some were very underexposed (It’s worth noting that they were all recoverable if desired processing the raw).
Just at the end of the trip I found a setting in the menu to turn live preview on and that made all the difference – your exposure settings are reflected until you half press the shutter button then the EVF is exposed to an amount that makes everything easy to see. I could see this being an improvement compared to how Sony does things.
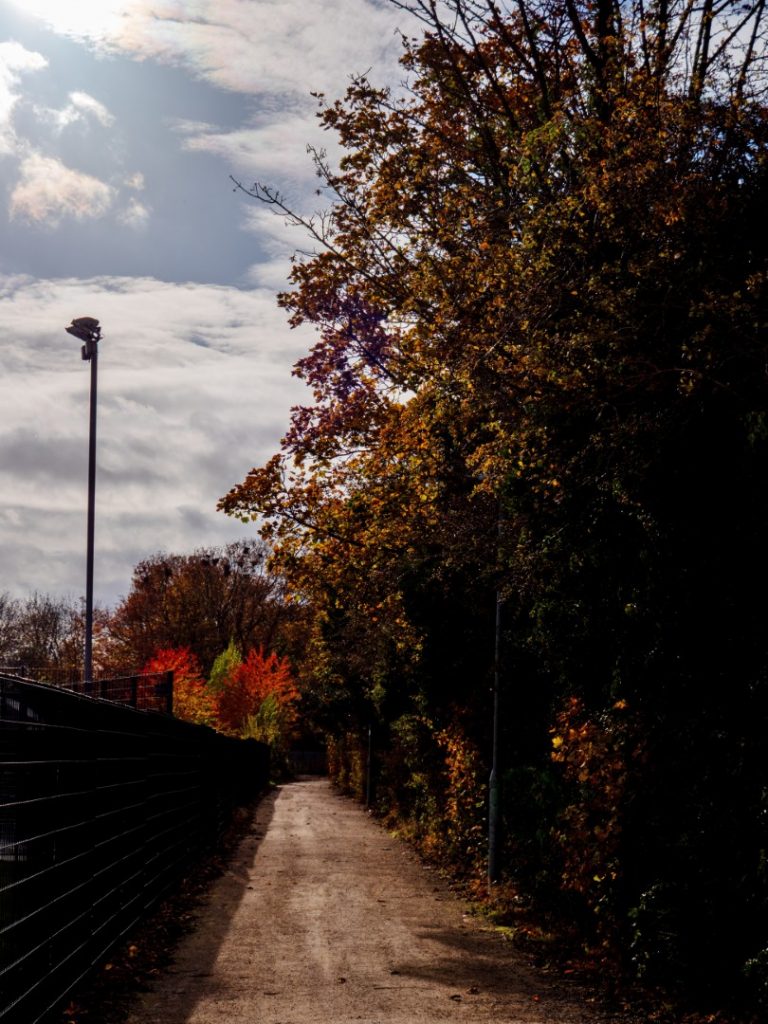
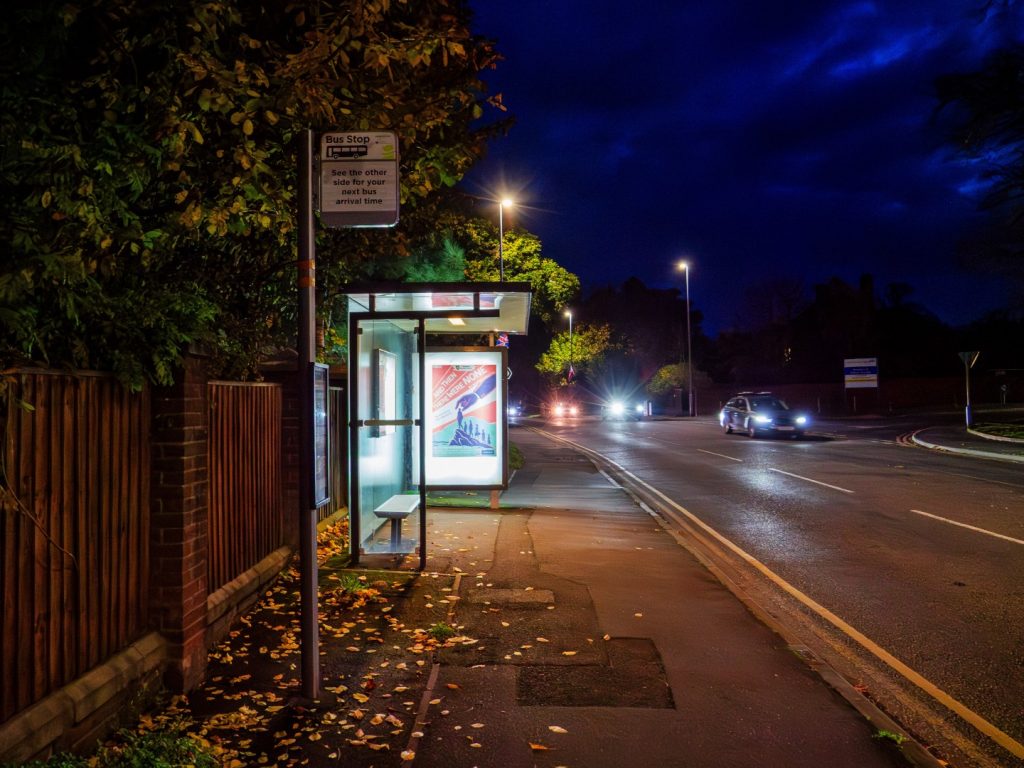
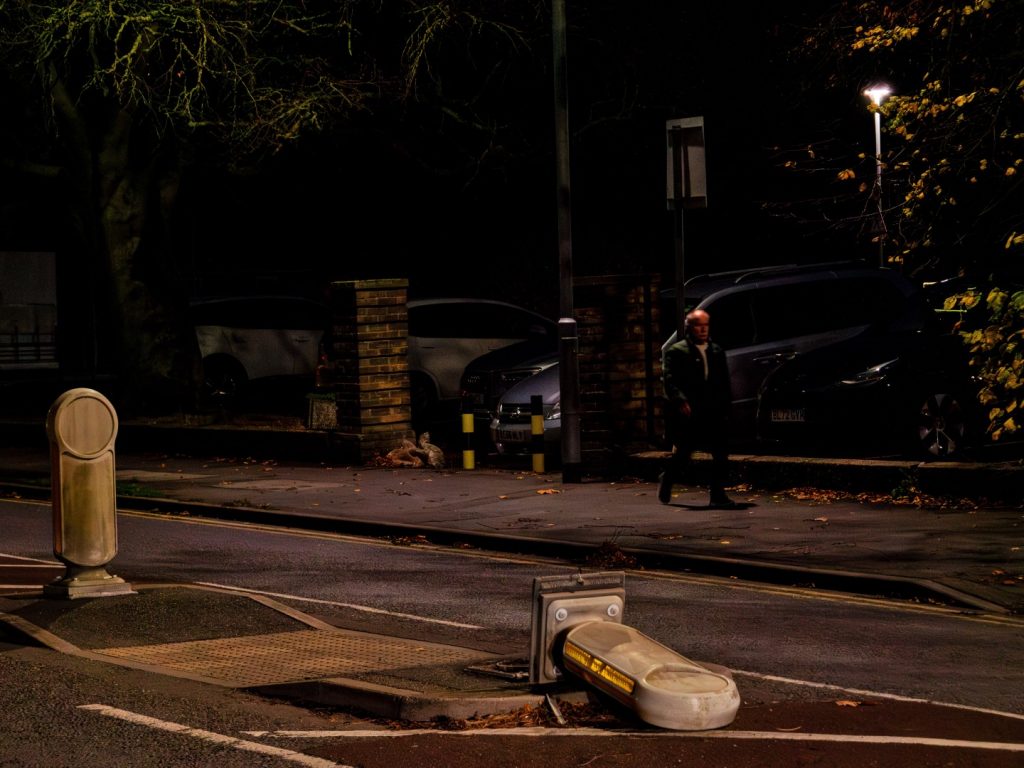
The following evening I took the camera with me on my weekly evening school run. This was a good test of how the camera and lens performed at low light, low shutter speed and with high ISO. Other than the GPS tagging not working properly again, I was pleased with the results.
This was the first shot I took and the auto ISO cranked itself up to 12800. The noise on the back of the camera looked horrible so I set the ISO to 3200 and more or less kept it there. With AI denoise though, the results are acceptable – although not as clean as I would get with the Sony A7R IV.
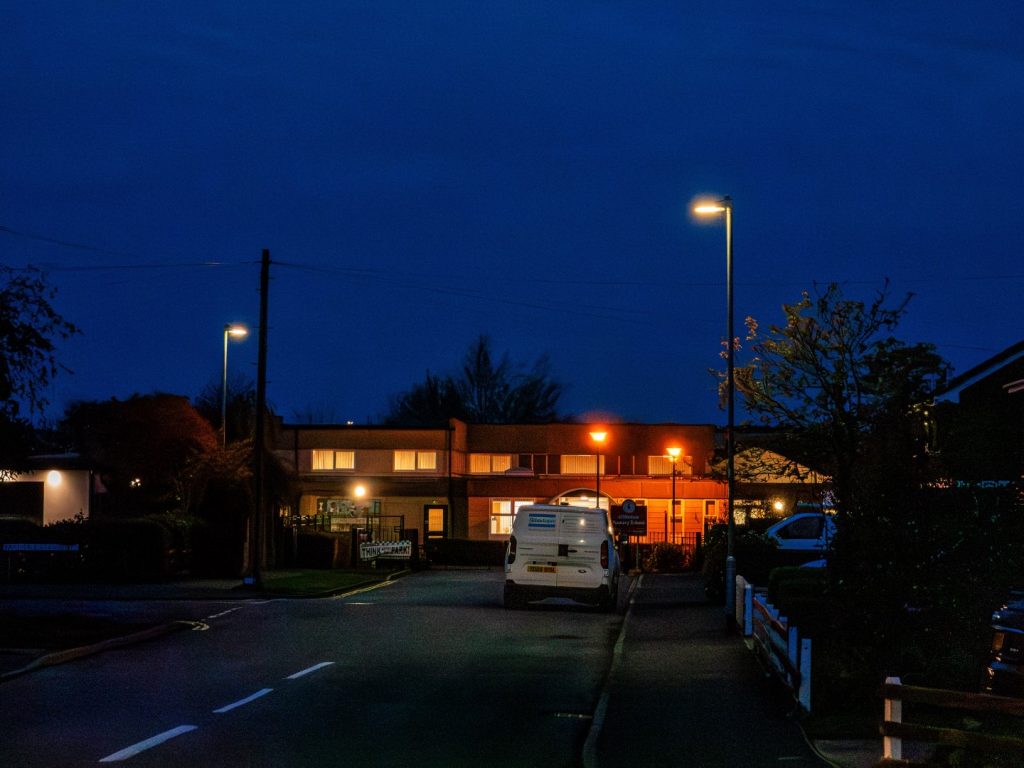
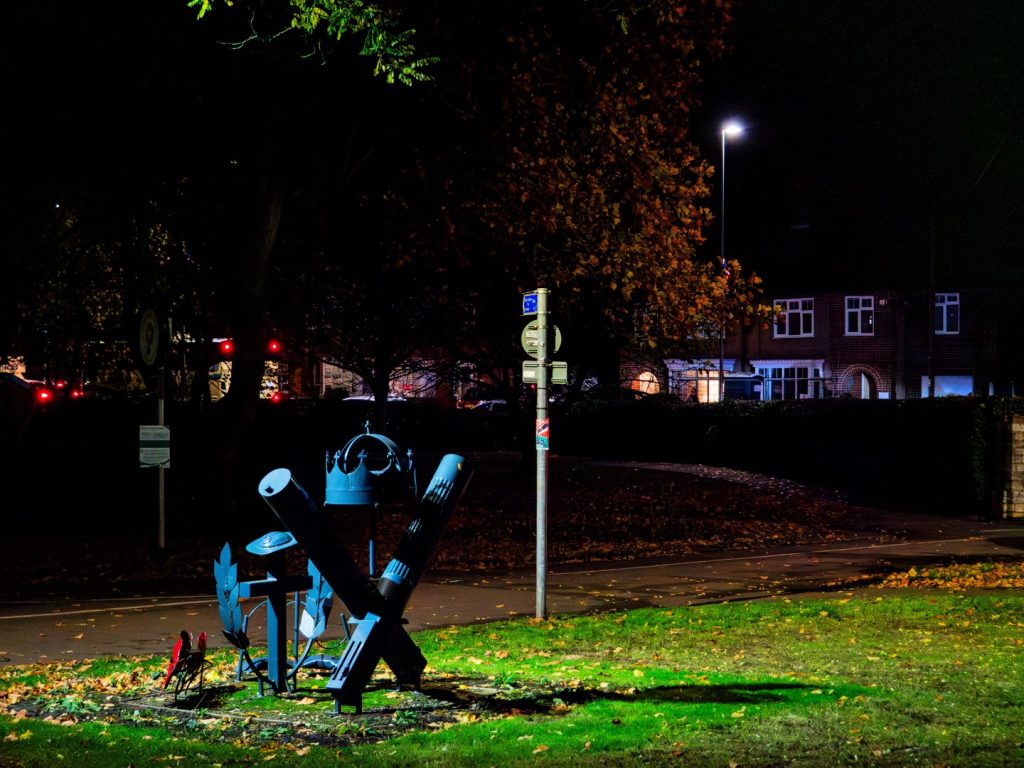
This was the next shot taken and I liked the way the not quite fully dark sky turned out. Again AI denoise was used, as with all the photos I took on this trip.
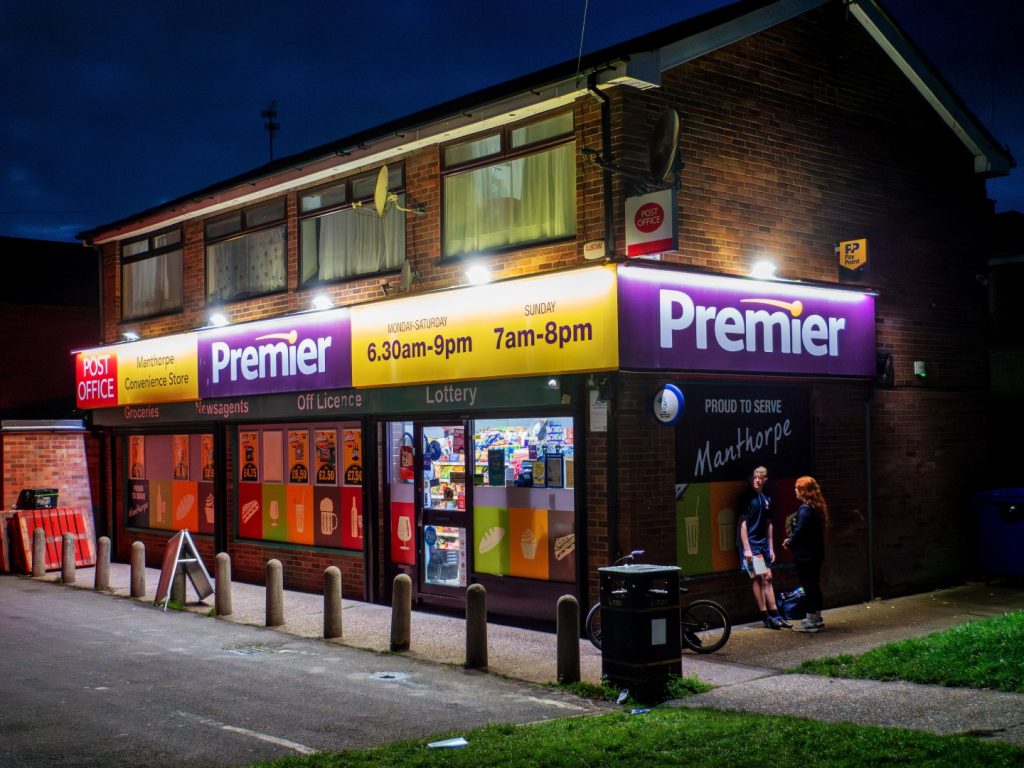
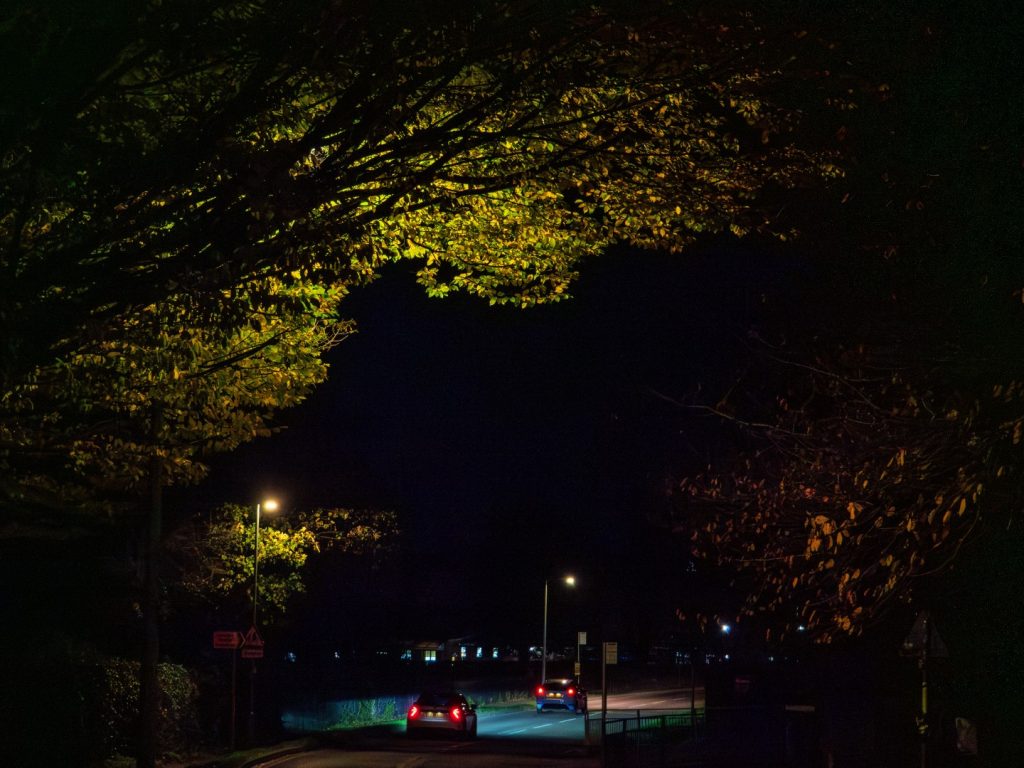
The slightly better lit local corner shop yielded pleasant colours. There was a bit more noise in the dark areas than I would like but I mostly eradicated these with some exposure adjustments and noise reduction.
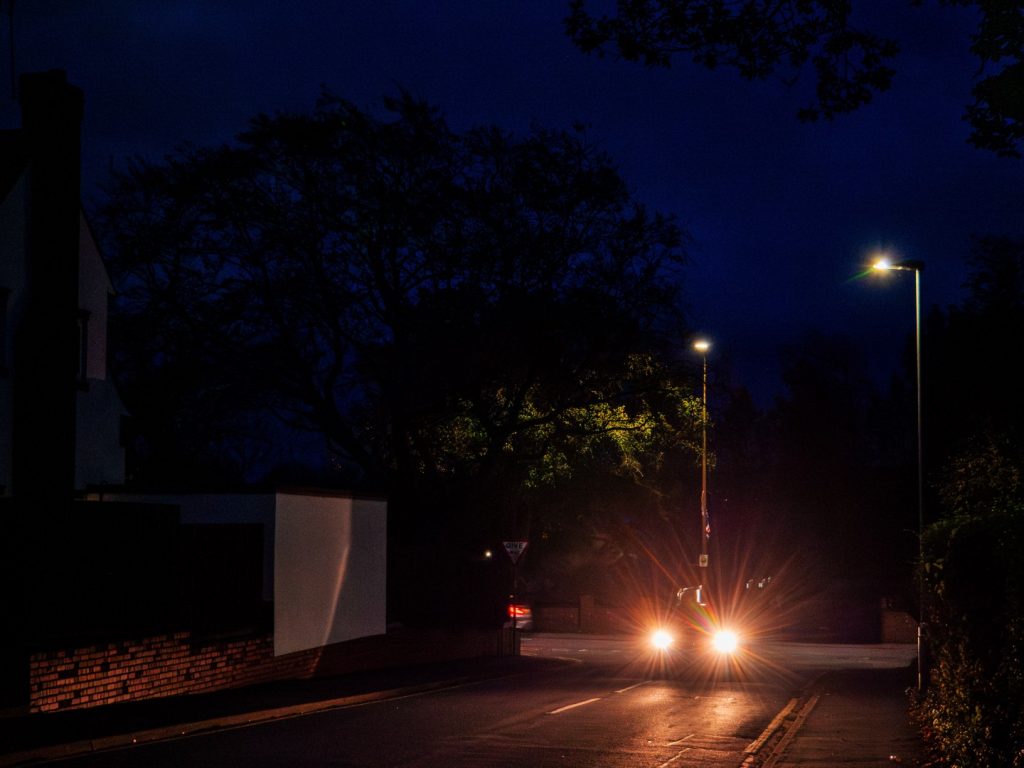
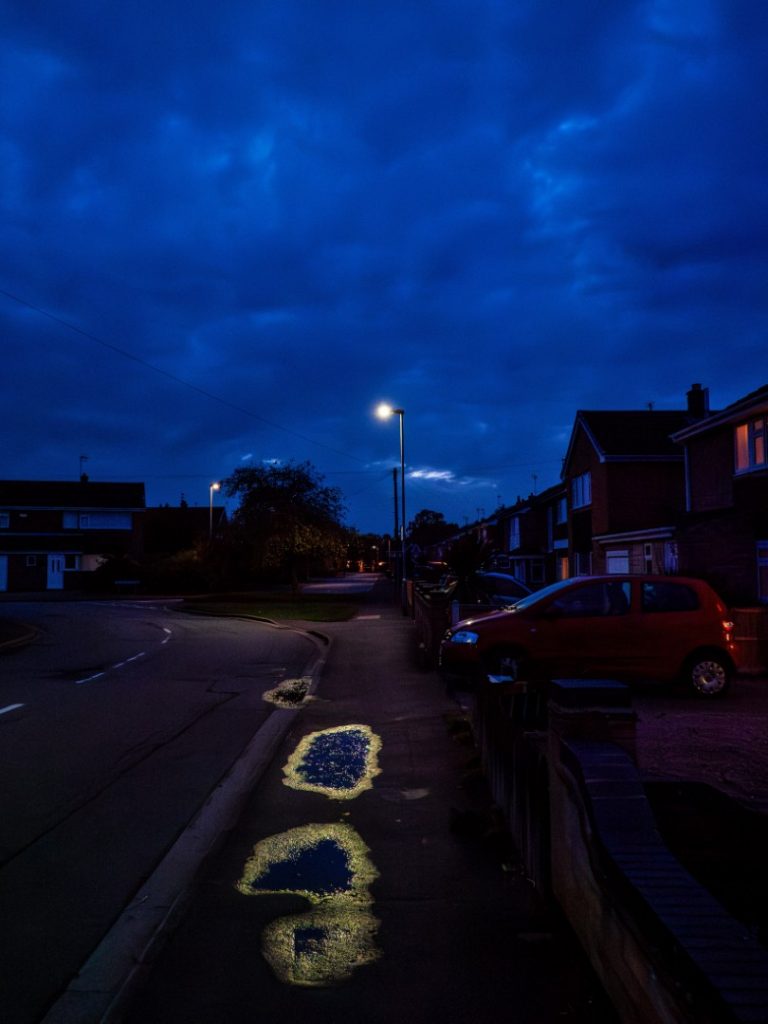
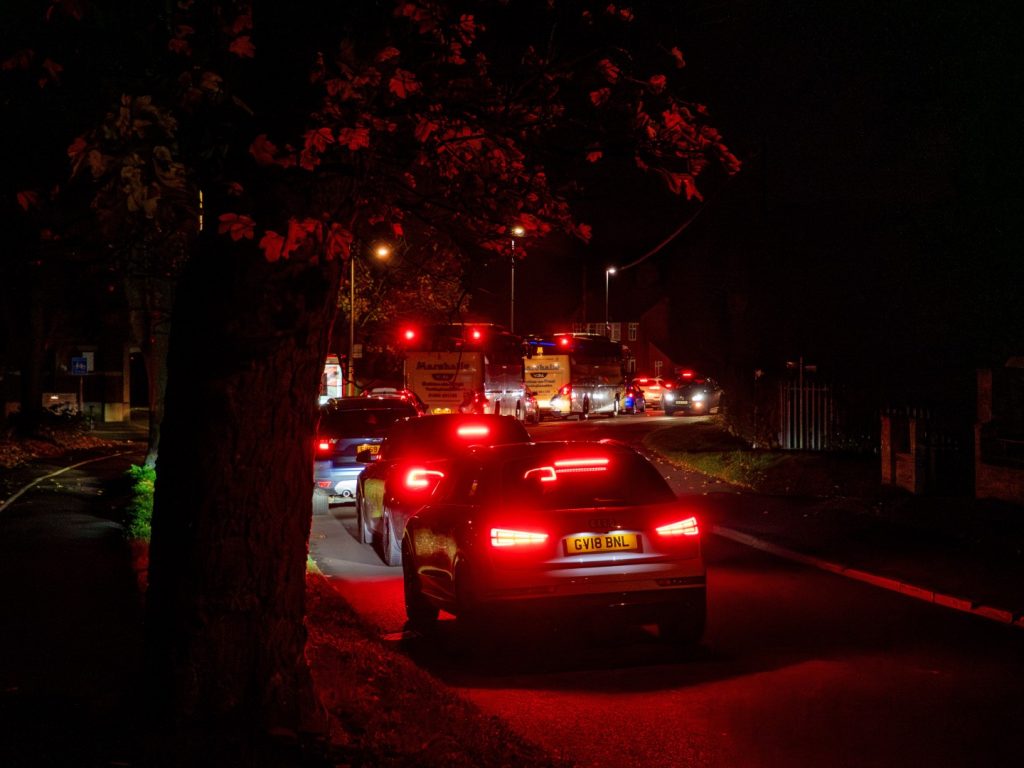
I wasn’t expecting sun stars at f/4 but the ones on the car headlights are spectacular!
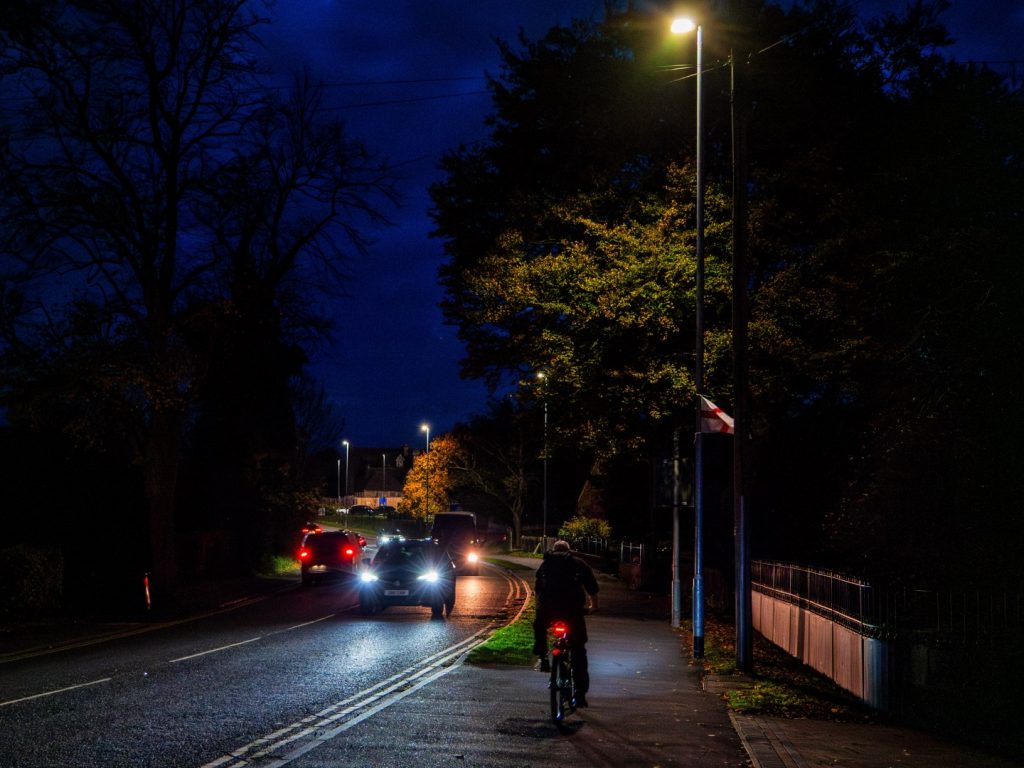
The AF wasn’t totally consistent, not all the shots were sharp, and there was more AF hunting than I would expect with one of my Sony cameras, but for 1/40 of a second I think this came out well.
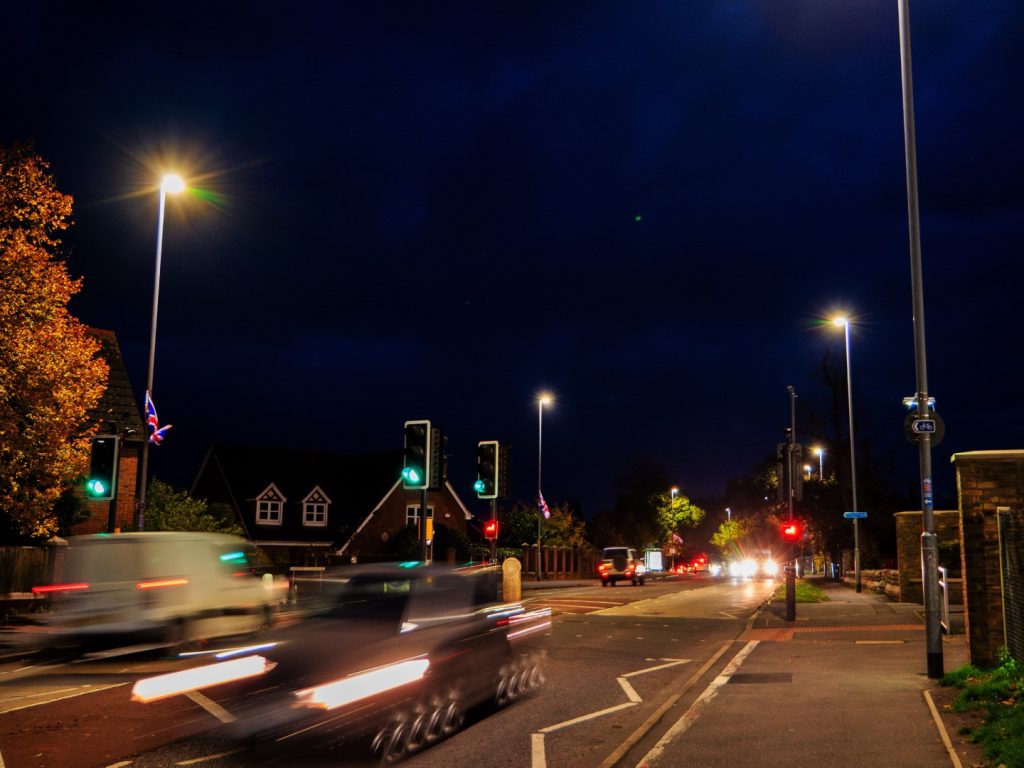
I dropped the shutter speed to 1/10 of a second which produced an overly bright image (I should have reduced the ISO) and unsurprisingly most of the frames I took had a little camera shake. This one and a few others didn’t though and, once again, I am pleased with the result – once I was able to successfully darken the image in post production.
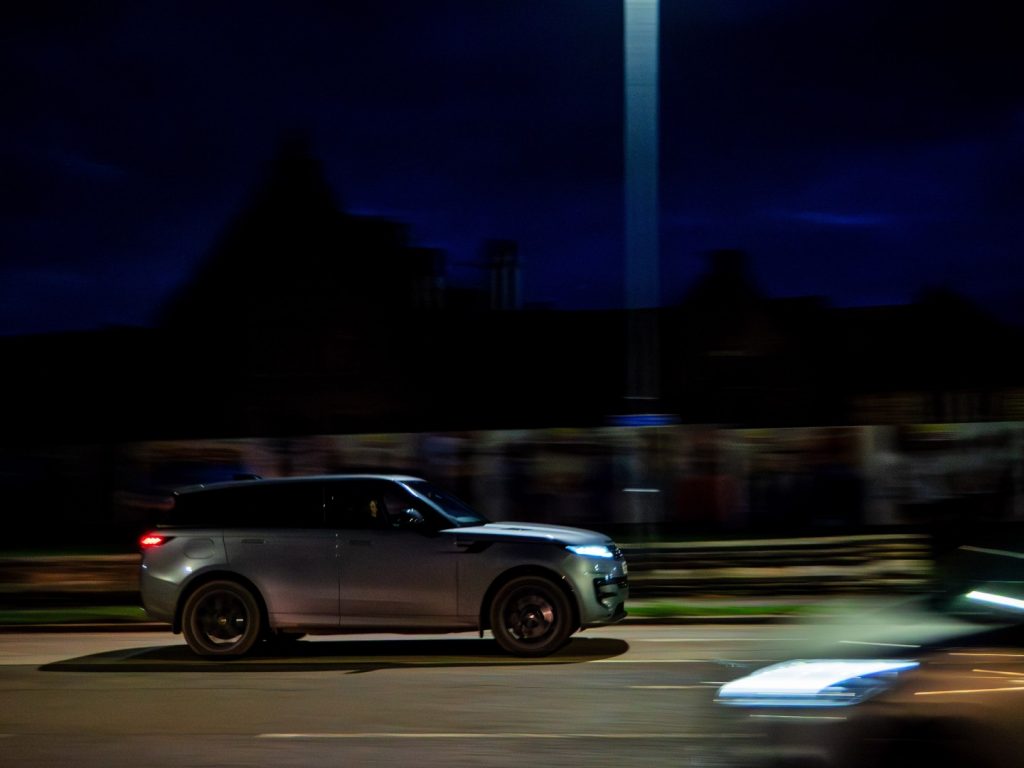
I did a quick pan test and was impressed at the lack of screen blackout as I reeled off a number of frames, this one being the sharpest.
Again I was impressed here with the camera’s ability to be stable at 1/40s and retain some of the detail in the not quite black sky.
My experience of shooting at night somewhat exceeded expectations. So long as you aren’t looking to artificially lighten the dark areas, I think the results look pretty good. That said, I am yet to really test my full frame camera with a fast lens at night, so we shall see how they compare when that happens.

So a summary of what I like and don’t like with the Panasonic G9 and 12-60mm lens, based on very first initial impressions:
The Good
The 20.1 MP sensor is plenty enough for most of my photographic needs, allowing some mild to moderate cropping. There is plenty of dynamic range in the raw images to edit in a very similar way to my Sony cameras. Colours are good, low ISO images are clean. The night shots at ISO3200 had enough detail for some manipulation in editing the raw and when treated with AI denoise looked good enough for any scenario other than pixel peeping. I wouldn’t want to venture above ISO6400, but then again I try not to with all my cameras.

The lens is not bad at all for what is essentially a budget zoom. Images looked sharp with good colours. Not in the same league as the Zeiss 55mm for instance but I wasn’t expecting it to be. The focal range was excellent for street photography.
The camera is very well built, clearly a professional camera with a large number of customisable buttons. The old school LCD top screen showing key information is not just nostalgic, but very useful to check settings are as they should be. The menu, once I got used to it, is very fully featured and relatively easy to navigate. Given that it is probably the cheapest camera I have ever bought, it certainly punches well above its weight.
The AF, although contrast detect based rather than the more modern and supposedly superior phase detect, is excellent and probably good for the majority of use cases. The human tracking was flawless and the yellow box that surrounds the object tracked is arguably better than Sony’s implementation. Conversely I really like the way manual focus peaking works with the Picture In Picture option letting you retain the composition of the image whilst focusing in.
The frames per second is perfect for my needs and wants – up to nine FPS with mechanical shutter and twenty with electronic. I don’t want or need any more than this.
Much is made of the image stabilisation qualities of the camera and the night shots I took seemed to confirm the hype. Nearly all the shots taken at 1/40s had barely any shake and I was even able to get a few keepers at 1/10s without trying particularly hard to keep still.
The Bad
The front dial that I use to control shutter speed is at the top of the camera behind the shutter button (Which doubles as the on/off switch) rather than in front of the shutter button on the front of the camera. I don’t really like this and found myself on more than one occasion accidentally turning the camera off, or at best having to stop and look up to see where the dial was. This is something I will get more used to with muscle memory, but it’s a common complaint with this camera.
Another common complaint is that the shutter button is far too easy to depress. It feels like it has been used a million or more times when I believe it was like this the day it left the factory. As someone who normally half focus button presses to auto focus, this is not ideal and have set the camera up to back button focus to try and help with this.
Talking of buttons, the dedicated WB, ISO, and EXP buttons are great but I would like to be able to use the WB in particular for something else as I always leave it at AUTO. It may be possible, but I haven’t found a menu setting to allow it. I’m not sure if it is my copy and / or the settings I have but the playback / review button wouldn’t always work using the rear screen, especially when out in the dark, but would when I used the EVF. I suspect it is a setting that I am yet to figure out. The screen when flipped out and twisted would sometimes go black too for reasons unknown.
I an not sure if it is the sensor or the lens or a combination of both, but the handful of higher ISO (3200 or so) pictures I took indoors lacked the quality of the full frame and APS-C Sony cameras, arguably even a little less than the Sony RX100 VII. Outside they were similar to, perhaps a little better than the pocket Sony camera, which I am happy with as that has an excellent sensor. I am sure that more expensive glass would help here and get close to or match the larger Sony cameras in good light at least.
The Different
The AF focusing is going to get a bit of getting used to. With my Sony cameras I have them set up to focus or track a spot or an object that I will point to (A6700 / RX100 VII) or navigate with the joystick (A7R IV). Based on recommendations I set the Panasonic to Human / Animal tracking, which I believe defaults to something else when no such object is in the scene. When humans were in the scene it worked very well but there were a few instances when, on inspection, the AF had locked onto an object that I didn’t want it to focus on. I suspect I could have got around this by using the joystick to determine AF (I forgot….) or by choosing another AF setting or by customising a button to select near or far focusing (I haven’t explored the latter).

The menu goes into a lot of depth, more I think than the Sony menus – in particular settings for things like white balance or picture profiles. I haven’t yet explored these and it may be the case that I won’t as they may be more prevalent for JPEG shots, when I intend to mostly process the raw files.
This is hardly a surprise the different layout for the buttons, the menu, and the displays will take some getting used to being similar to, but different than my Sony cameras. Playback being on the upper left hand side rather than the bottom to the right is proving particularly tricky. The joystick is a little too far to the left and too close to the eyepiece, and the two function buttons on the front of the camera near the lens are very difficult to access.
I only the manual focus peaking option briefly, while I loved the PIP option I found that the red outline to signify what was in focus, far harder to spot and determine than when using my Sony cameras. This may be changeable in the settings.
Summary
It is very early days for my relationship with the Panasonic G9 but the first impressions are very positive. On its first use there were no disasters, some pleasant images and one or two that I was pretty happy with. I concur with many of the YouTube comments to associated videos that this camera could be one of the most underrated and best bang for buck cameras on the market currently.
I’ve already committed myself to enhancing the adventure, purchasing a couple more (third party) batteries and a very well priced second hand Panasonic vertical grip – which I love using for sports photography in particular and portrait shoots. Next up will be likely be a longer telephoto waterproofed zoom lens. These are a bit more pricey than the 12-60mm so it may be a while before I get my hands on one, unless I spot a bargain (Or I win the lottery!)
Leave a Reply